Showing posts with label Pictures. Show all posts

Monday, October 12, 2009

Free Textures from BittBox

Here is a set of textures from BittBox and Caleb Kimbrough. Even as we set into fall, you can still enjoy some summertime leaf textures.

From the Post: “This week I have some leaf textures, more specifically I tried to focus on the veins of the leaves. Let me know if you guys dig them!”


image

Check it out…

Technorati Tags: ,,

Wednesday, February 18, 2009

Software Review: Kubota Pro Pak - Part 1 From Kubota Image Tools

The Kubota Pro Pak is a bundled package of products that contains six of the most popular tools from Kevin Kubota's professional image enhancing tools for Adobe Photoshop. This package includes the four Artistic Series of actions, his Production Tools, as well as his Formula Book which contains 42 separate recipes to get just the look you want.

Who is Kevin Kubota and what makes his actions so special? Well first off he was named one of the top ten wedding photographers of 2007 by Popular Photography Magazine for giving his customers more than they expect by capturing fresh, expressive images. He has now taken that philosophy to Photoshop processing by providing the same techniques to you via his image tools.

Today Kubota Pro PakI will look at the four actions sets known as the Artistic Tools. In case you are not familiar, a Photoshop action is an automated series of steps that have been recorded to provide an effect or series of effects. Some of these actions are totally automated, while others have stopping points that request you to perform some action, usually to paint in where you want some sharpening to occur. In all cases there is a pop-up window that tells you what you need to do.

Artistic Tools Vol. One: The "Classic Film Effects" Pak
In this pak you will find a variety of Black & White Actions, organic film grain, cross-processing effects, sepia effects, and monochrome toning. This set contains over 40 Actions and it includes Skin Cream, Fuji Snappit, Vignette, as well as Eye and Teeth Enhancer.

The black and white effects include conversions that give nice film grain effects without introducing digital noise. In this way they look much more organic and have a better feel. There is not a loss of sharpness and in fact many times the sharpness appears enhanced. There are actions that smooth skin, add glow to the image, add a Hollywood effect, as well as other creative effects for a vignette, giving a romantic feel, and adding vibrancy to the image.

There are color actions that can add a bright sunny effect, a cross processed look, and a contrasty Fugi Velvia film look. There are also image correction actions that raise the shadow values, lower contrasts and saturations, adding warming gel filters to add mood to an image, as well as a mid-tone brightener. There are even actions that will attempt to fix images shot with the wrong white balance. There are examples of "Classic Film Effects" Pak on the Kubota Image Site.

Artistic Tools Vol. Two: The "Modern Chic" Pak
This pak includes what has been known as Lord of the Rings series and is one of the most popular of the Kubota Actions and is what helped make it a HOT ONE award winner. Also it also contains enhancements that give your images color pop, colorful toning, soft glowing and innovative black and white effects. This pak contains over 50 enhancements including Daily Multi Vitamin, Radiant People, Radiance Landscape, Edge Burner, Digital Fill Flash and Smokeless Burn.

Kubota Pro PakThese actions under Black and White will give you the ability to work with a modern antique look that will have the user wondering if it is really black and white or color. There are some that will tone your black and white to blue, green, red, and other tones as well as ones to create a more traditional black and white image.

The color effects will help you add 'Life' to everyday images. The Lord of the Rings series aims to mimic the deep, romantic feel of the movie by adding color richness, a soft glowing effect, and contrast. There are several variations on this one.

The Creative effects include one that gives a painterly effect, another with a canvas texture, one that gives an angel glow, one that burns the edges, and one that performs an edge blur. The Image corrections include one to eliminate posterization problems, one that adds digital fill flash, a smokeless burn that works just the opposite of flash fill, one to work details, one to reduce noise, and one that works skin tones.

There are also a set of image bordering actions that will create 4x6 images with borders for printing proofs. There are examples of "Modern Chic" Pak on the Kubota Image Site.

Kubota Pro PakArtistic Tools Vol. Three: The "High Fashion-Edgy" Pak
In this pak while there are a lot of enhancement tools that can be used to work on "everyday" images, you will also find a series funky high fashion looks, glowing and deeply romantic black and white effects, and color styles. This pak contains over 45 enhancements, including Fashion Passion, Kiyoko Punch, Tea Stained, Anime Soft, Anime Bold, Doll Face, Skin Powder Genie and Eye Color Enhancer.

The black and white actions include ones that lighten up the skin tones, add rich warmth to the shadows, have some bronze toning and combine velveteen with a black satin look.

Color effects include a Hollywood glow effect is works for fashion and outdoor scenes, a cross processed look that has more pleasing skin tones than the traditional, a dramatic old world look, a high key contrast that is bold and sassy, a tea-stained look, and a 'Look' that is gentle enough to use every day, but has the punch to make your images pop.

Creative effects include a glow that is made for children, graduates, and fashion images, a look that emulates half photo, half painting, a rich and moody forest look, a soft wash, and a wash-out look. The image corrections include a dark line eraser to remove things like shadows from eyes, an eye color enhancer, a skin powder genie to get that cover girl smoothness, as well as an overall helper to restore detail on a slightly overexposed image.

Again there are also a set of new image bordering actions that will create 4x6 images with borders for printing proofs. There are examples of "High Fashion-Edgy" Pak on the Kubota Image Site.

Kubota Pro PakArtistic Tools Vol. Four: The "Cutting-Edge" Pak
This is a collection of modern image enhancing tools for producing unique looks in the marketplace. There is a three-dimensional "Enter the Dragon" all the way to a cinematic "300-esque." Also, there are new interactive B&W converters for the attempting the perfect tonal blend and richness within your images. This pak contains over 50 enhancements, including BW Full Moon, Highlight Enhancer, Dark Darkener, Popsickle, Punch Drunk, China Doll, Comic Relief, Vignette 2 Auto and Ragged Edges.

The black and white effects include ones with an infrared feel, one with deep blacks, one that allows you to fine tune the tonality of different colors before conversion, one gives a more edgy bold look, and one that you can give a subtle hint of color.

The color effects include "Enter the Dragon" series that gives a three-dimensional, edgy, bold look with lots of texture; one that is more soft and romantic; one that enhances details and removes haziness from your image; the "300-esque" series that attempts to capture the movie's warm perpetual sunset and soft film grain look; and there is one that gives an old London town look.

The image corrections include a contrast brush to paint contrast into areas that need that oomph, highlight rescue where you paint to bring out the highlights that are not there, a Dark Darkener for painting on areas that need to be darker, and a Luminizer for opening up the shadows.

In this pack you also get a series of edges and vignettes for darkening edges and bringing out the focus of your image. There are examples of "Cutting-Edge" Pak on the Kubota Image Site.

Obviously there are too many actions to do more than highlight what each pak contains here. You can get online to evaluate everything for yourself, but with the fact that you have over 40 actions per pak and you can combine them with each other, using multiple actions to create different looks, you really have a limitless array of effects that you can create.

The biggest problem I see with having all of these effects is knowing what to use and when to use it. Obviously, the final results will come from experimentation and trial and error. One thing that helps is that the samples from the Kubota site are a great starting point. It appears that there will eventually be tutorials as well, which will be even better. In part two, along with looking at the Production Tools, I will look at the Kubota Formula Book that gives you 42 step-by-step recipes for getting that certain look and, to me, that is something else that will help the learning curve tremendously as well.

If you are a professional photographer, especially one who does weddings, portraits, or graduations, you really owe it to yourself to check into the Kubota Pro Pak, or any of the Kubota products for the photographer. They will allow you to get the maximum productivity with the least amount of effort. Even if you only use a small portion of the effects, they will pay for themselves in time savings and customer satisfaction over and over again. I highly recommend this product.


Technorati Tags: ,,

Thursday, December 25, 2008

Web Site Review: Adobe Photoshop.com

Written by T. Michael Testi

Photoshop.com is the new companion Web site to Photoshop Elements 7 and Premiere Elements 7. The goal of Photoshop.com is to extend the capabilities of your Elements experience by giving you a place to store and share your creations. They offer templates and tutorials that can be delivered to your software on a regular basis. It will let you backup and store your images and videos online, as well as allowing you to access these items anywhere you are.

There are two types of memberships to Photoshop.com. The first is a basic membership and it is absolutely free. It gives you 2GB of storage space where you can upload, view, edit and access your images anytime you have an Internet connection. You do not have to purchase Photoshop Elements or Premiere Elements to join, and if you want more storage space, you can purchase up to 100GB for an annual fee.

Photoshop.comThe second type of membership is the Photoshop.com Plus membership. This requires the purchase of either Photoshop Elements 7 or Premiere Elements 7, and requires a $49.99 annual fee. For this you get 20GB of storage space, seasonal art, themes, additional tutorials that will be downloaded to your desktop, and the ability to automatically backup your photos and videos from your desktop. For this membership as well you can purchase extra space. I will be referring to the Photoshop.com Plus membership in this review.

What Are the Features Available at Adobe Photoshop.com?

Showcase your photos by using a wide range of the latest artwork and templates that can be delivered to your desktop automatically. Want to make a photo card? Add clip-art to a photo? Put a frame around a favorite picture? It is all right here for you to access.

Cinematic inspiration for your videos is here as well if you are using Premiere Elements 7. With a Plus membership you will get the latest movie themes, sound effects, music, overlays, menu templates, and special effects.

Tutorials will let you learn as you go along. You can find out how to give your creations a more polished look, or if you want inspiration to learn how to do something new.

New ideas will give you new ways to create images. You will get tips and an assortment of seasonal artwork, themes, and special effects that are useful to whatever you are doing.

Automatic backups will keep your memories safe. No scheduling required. You just tell Elements what you want backed up and it will handle the rest.

Show off your work from any Web-enabled computer. You don't have to take along the pictures, you have them with you from any place you can access the Internet.

Galleries will let you set up both private and public galleries. If you already have a Flickr, Facebook, Photobucket, or Picasa site, no problem. Photoshop.com will hook you up and tie them back in so you can work with those images as well.

Photoshop.comI found Photoshop.com very easy to work with and use. It ties nicely into Photoshop Elements 7 and Premiere Elements 7 and makes everything seamless to use. I found that it was very easy to tie into my existing Flickr account, and after giving my approval for Photoshop.com to access my photos, all of my images were available. I could go in and do all sorts of image adjustments like fixing white balance, cropping, resizing, converting to black and white, and much more.

The fact that you can tie your phone and its photos to Photoshop.com is also an added plus. For many, the themes and other goodies that are available for use will be of big benefit. I also like the different plan levels that let your storage size grow as you need it to. If you use Photoshop Elements 7 or Premiere Elements 7, then you owe it to yourself to check out Photoshop.com. Even if you don't own one of these, I think that you will be quite surprised by what you can do with Photoshop.com. I heartily recommend this site.


Friday, October 31, 2008

Book Review: Ansel Adams - 400 Photographs, Edited By Andrea G. Stillman

Written by T. Michael Testi


Ansel Adams: 400 Photographs is one of those monumental undertakings not only because of the man who created this body of work, but because of the volume of his body of work, and the number of people he influenced. To try to pare this down to 40 (Examples: The Making of 40 Photographs by Ansel Adams) or in this case 400 photographs takes time, effort, and dedication.

For those who may not know of Ansel Adams, or whom have only heard his name with relation to photography, he was the most honored American photographer of the twentieth century. Once destined to become a concert pianist he instead chose photography. Over the course of the next 50 plus years he defined the art of photography.

400 Photographs constitutes a study in that life. The book is 440 pages long and, as the title states, contains 400 of Adams' finest photographs. The book is arranged into five major periods which correspond to his growth as an artist. It is edited by Andrea Stillman, a close associate and editor of seven of Adams' books. 400 Photographs starts with an introduction in which Stillman gives a brief overview of Ansel Adams' life.

"1916-1930 – Yosemite and the High Sierra" begins when Adams was 14 years old and he visited Yosemite for the first time. He had his first camera, and on this trip he recorded a "visual diary" of where he had been. This chapter begins with some of the images he took and of the album he had made with his father. Some of these are very rare images including one of his first of "Half Dome." You can see the growth of his work between 1918 and 1927 as he developed from simple records of scenery to more artistic expressions. In 1927 he began the process that would later become "visualization." It was here that he began to photograph with much more authority and you can see the new power that his images gained.

"1931-1939 – Group f/64 and Alfred Stieglitz" shows the influence of a loose group of West Coast photographers that included Edward Weston and Imogen Cunningham called Group f/64. This group promoted "straight" photography as opposed to the "pictorialist" methods that were in vogue at the time. They were trying to define photography as an art form by simple and direct presentation as opposed to photography as relating to painting and graphic arts.

During this time the compositions of Adams' photographs began to change. He tried to present his subject in as straightforward manner as possible. He also lowered his horizon now including cloud filled skies. It was also during this time that Alfred Stieglitz, the director of America's foremost gallery of modern art, An American Place, exhibited Adams' photographs which took Adams' work to a larger audience.

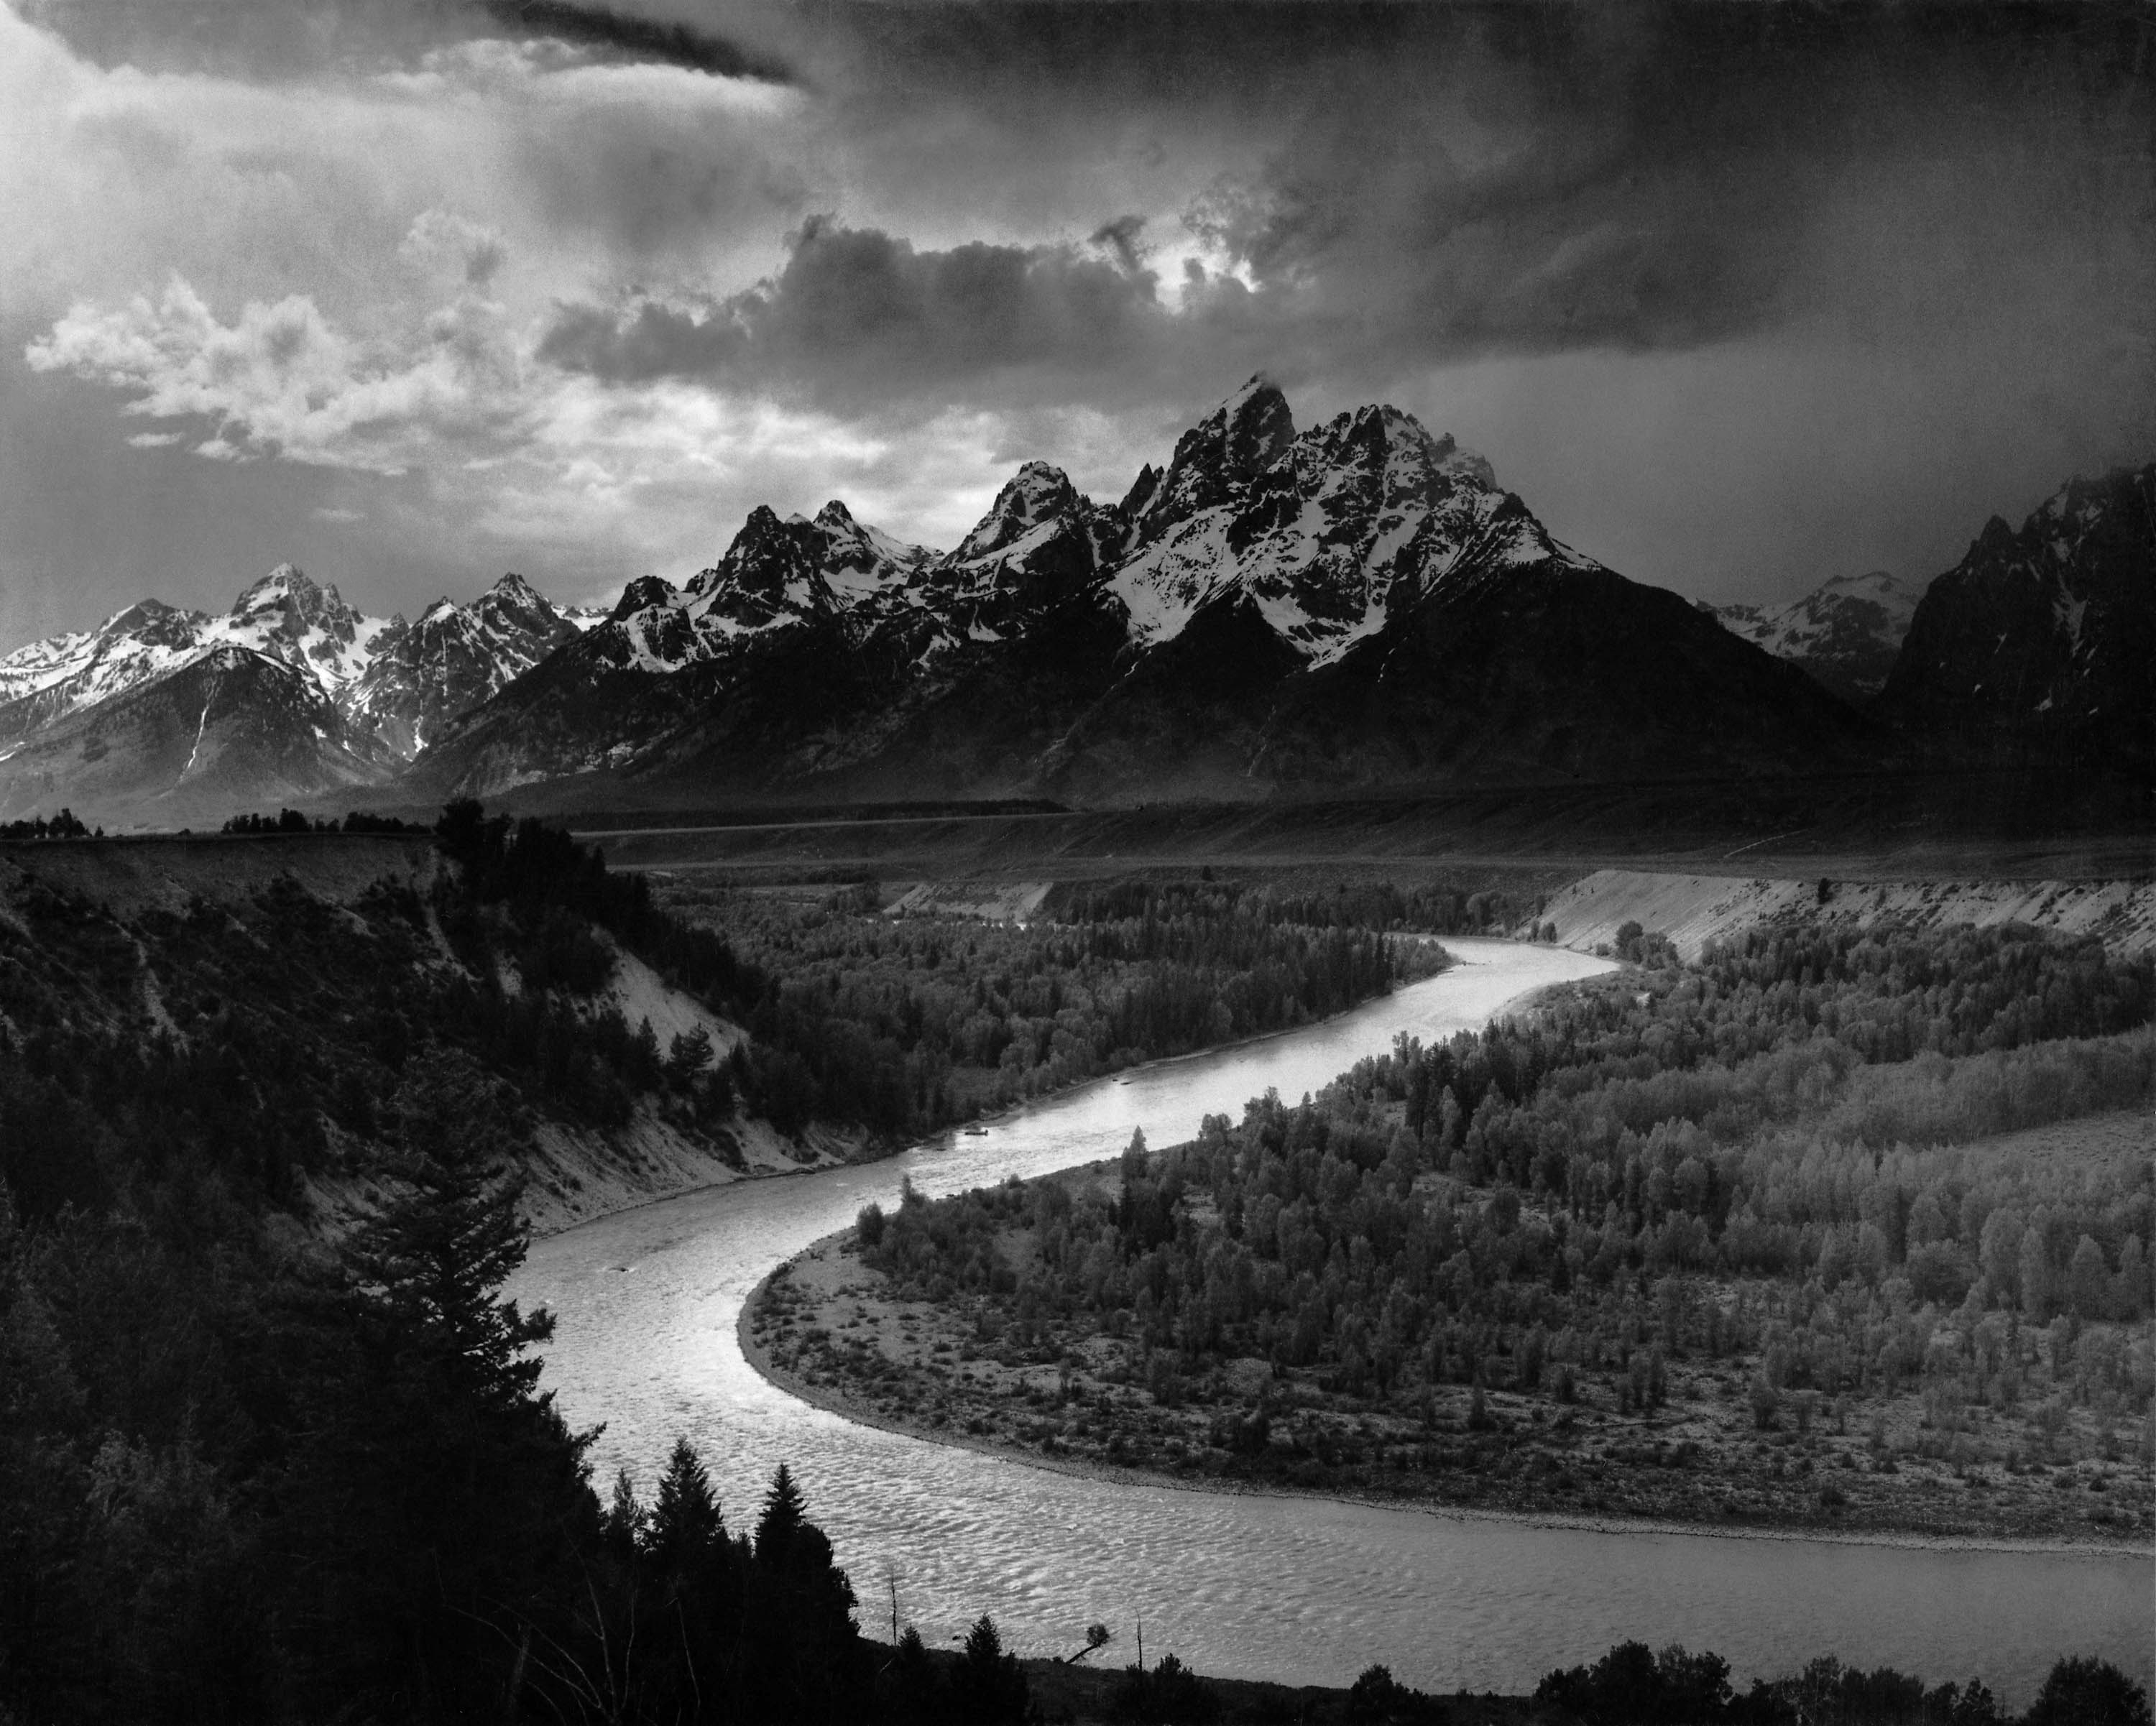
Image by Ansel Adams for the National Parks Service 1942"1940-1949 – National Parks and Monuments" describes the time period in which Adams was commissioned by then U.S. Secretary of the Interior Harold Ickes to photograph the national parks and monuments for murals to be displayed in the Department of the Interior's new Washington D.C. headquarters. It was during this time period that his work grew in different geographic directions beyond California and the Southwest, branching out to other locations across the country.

"1950-1959 – Conservation, Publications, and Commissions" focused Adams' attentions on photographic commissions and writing. It was during this time that he wrote the many technical books that became standard course materials, even to this day. He also spent time working on conservation issues with the Sierra Club as well as mounting exhibitions for them.

It was in 1956 with the help of Nancy Newhall that the exhibition "This is the American Earth" was presented. It was later turned into a book with Newhall's poetic text, and characterized as a wake up call to the nation for environmental issues.

"1960-1968 – Carmel" examines the time in the life of Adams, that although he photographed less and less, he printed more and more. Adams never worked with a lab as did many of his contemporaries. He made every print himself. During this time, when he was not printing, he was writing, teaching, and tackling conservation issues.

"Notes on Selected Photographs" contains information on selected images from throughout the book. There are over 75 images that contain comments, history, and other interesting insights into the artist. 400 Photographs is fully indexed by title and by subject. There is also included a bibliography of both Adams' work as well as works on Adams.

When I was growing up, my doctor had an Adams mural on the walls in one of his patient rooms. The image to me was enormous. Even more, the impact on me of this image was enormous. It has shaped the way I viewed photography and in many ways, how I view life in general. When I view the photographs in 400 Photographs, I get this same feeling.

Sure, the small images that are presented in this book cannot replace the feeling that one gets when you see his full size presentations, but that is not the purpose of this book. 400 Photographs is about presenting a body of work from someone who chose not to make photography fit into the notion of the pictorial art of the day, but instead made photography into an art form that could stand on its own. That is what makes this book so important.

I think that Ansel Adams: 400 Photographs is an absolute must have for anyone that enjoys Ansel Adams, art work, photography, or just wants to get lost into the world of images. It is also a must have for artists from other disciplines as the compositions, arrangement of light, and locations are inspirational. It should also be in every waiting room or patient room as well; you never know whom it will inspire.

Thursday, October 09, 2008

Book Review: Take Your Best Shot By Tim Grey

Written by T. Michael Testi

As with a lot of books, Take Your Best Shot is one that has been years in the making. While working with the nature photographer George Lepp, Tim Grey started a quarterly newsletter called "Digital Darkroom Quarterly." Over time he kept getting questions via email asking questions on digital photography, and many times these questions were the same or similar questions. So instead of just responding to these questions, in 2001, he started the Digital Darkroom Questions (DDQ) email newsletter. To this day, these questions still go strong. Tim Grey's latest book, Take Your Best Shot, was developed from these questions. The book is 252 pages in length and is divided into 10 chapters.

Chapter 1, "Digital Fundamentals," begins with question topics that will help give you a strong foundation in digital photography and help shorten your learning curve. The goal here is that even if you have the basics down, by reviewing some of these topics you will even pick up a point or two. Topics covered here include the debate between film and digital, dynamic range, ISO, resolution, RAW capture, and lens problems such as chromatic aberration.

Chapter 2, "Digital Cameras and Tools," examines the wild and wonderful world of ever expanding digital technology. In the days of film cameras, things did not change that frequently, but with the advent of digital, things don't stay the same for very long. Now you have many choices that constantly change. Here you will learn about the differences in camera choices, cleaning sensors, memory cards, lenses, and even about some specialty accessories like Lensbabies lenses.

Chapter 3, "Digital Capture," is really a new technology in the grand order of things, and so we are all still trying to define the rules. While there are a lot of similarities between this technology and film, there are also a lot of differences. This can lead to frustration. In this chapter the author attempts to remove those frustrations by examining some of these new rules. This includes comparing RAW to JPG, why to shoot RAW, setting color temperature, when to change ISO, what color space should you use on your DSLR, and how to interpret the histogram on your image.

Chapter 4, "Digital Darkroom," is a place that you will likely spend a lot of time if you are serious about digital photography. The digital darkroom needs equipment much like the traditional darkroom, but it is dry and performed in open spaces (and it does not have that chemical smell). To build a system, there are also a lot of questions to be answered such as Windows vs. Mac, storage and backup, do you need Photoshop? Do you need Lightroom? As well as many more topics examined. Here you will get a good feel for what you might need.

Chapter 5, "Color Management," examines why there are two kinds of photographers with regard to color management; those who are frustrated with it, and those who ignore it. Topics here try to look at how to manage color. Questions answered here are about profiling camera, calibrating monitors, color spaces, how to use print preview in Photoshop, as well as color management in Photoshop.

Chapter 6, "Optimizing in Photoshop," will help you overcome the learning curve that one generally finds when learning Photoshop. In this chapter the author examines many of the common questions that people have when working with Photoshop. These include working with RAW files, Curves and Levels, Cloning and Healing, Adjustment Layers, Selections, and working with Gradient Effects on an Adjusted area.

Chapter 7, "Creative Effects," looks at some of the more advanced techniques that many use with Photoshop. As you become better, you tend to want to emulate more of what they see others do. It is not always easy to figure out how these techniques can be accomplished. Here you will learn about creating Black and White images, using Photoshop filters, adding Vignettes and edge effects, as well as reproducing classic darkroom effects.

Chapter 8, "Image Problem-Solving," takes on the adage of "I'll just fix it in Photoshop." While it is always better to "fix it in the photo," once the shot has been taken, and you are not in the field, short of going back out, you do have to fix it in Photoshop. Here you will see how to fix things like overexposed skies, removing color casts, fix motion blur, reduce haze, and clean up noise in an image.

Chapter 9, "Printing," examines what it takes to get the best image on paper. Yes there are other ways to display your work; there is just something fundamental about viewing a print. Again, each new technology brings out new questions. Here you will learn about the different types of printers, inks, sending images out to be printed, as well as other topics relating to generating a hard copy image.

Chapter 10, "Digital Sharing," provides the options for those who like to share their images. In this chapter there is a discussion on the problems that can arise with sharing your images online, as well as how to sell them online, creating slideshows, and how to use the Lightroom Web Module.

Like his DDQ, Take Your Best Shot provides a wealth of information for novices through the advanced hobbyist photographer. Many, many of the questions are ones that either are not readily available without searching through a ton of books, or when they are answered, do not provide as complete an answer as presented here.

Some of the things that make me really like Take Your Best Shot is its conversational tone. Tim Grey presents each question as it was asked to him and from there he puts forward his answer. Occasionally there is a "Pet Peeve Alert" in which he pulls out his soapbox and makes his feelings known on something that he objects to, and occasionally there is a "Let's Settle This Already" segment where he discusses a particular topic in more depth.

I have been a fan and regular reader of his DDQ's for a couple of years now, and have always found them informational, entertaining, and I always look forward to that little tidbit that I didn't know. It is for this reason that I think that Take Your Best Shot is a great book for anyone from novice to advanced amateur as well as anyone making the move from film to digital. I very highly recommend Take Your Best Shot.


Tuesday, September 30, 2008

Book Review: Photo Workshop - Portrait and Candid Photography by Erin Manning

Written by T. Michael Testi

Creating portraits is a combination of skill and technique. It is also about connecting with your subjects. By learning how to observe and understand those you are working with you will get a feel for who they are, and how best to present them in a personal light. Learning to find out what interests you about your subject will allow you to better capture their personality.

It also takes time to learn the creative techniques of composing your images by experimentation, and through the capturing a lot of images; by learning how to tell a story with your image. Portrait and Candid Photography is 272 pages divided into 10 chapters.

Chapter 1, "What You Must Know About Photographing People," begins by showing you how to observe and connect with people. Here you will learn how to compose your images, to see what your eyes see, and learn about working with light in general. Then you will explore the kinds of equipment cameras, lenses, and equipment you will need. Chapter 2, "Accessory Equipment," will now take you into more detail with equipment such as additional lenses, batteries, tripods, flashes, and other odds and ends.

Chapter 3, "Working with Light," will get into more detail about working with light by exploring the quality, direction, intensity, and color of light. Then you will see how to reflect light, defuse light, work with a flash, and work with a meter for exposure. Chapter 4, "Composing your Picture," examines the basics of composition. This includes working with colors, framing your image, using patterns, using perspective, focus, and point of view.

Chapter 5, "Taking Portraits," will have you creating the look that you want by choosing the correct background, adding props, and adjusting wardrobe. You will see how best to take advantage of light, see how best to work with your subject by experimenting with position, changing points of view, and even how to capture candid moments. Chapter 6, "Families, Groups, and Parties," begins by showing you how to prepare for the shoot. Again you need to know the location, the people, the lighting, but it is just as important to anticipate surprises.

Chapter 7, "Kids," provide a unique test because they can be unpredictable, but here you learn about the different ages and stages that come with them. You have to keep it real, but yet get them involved to get the best shots. Chapter 8, "Babies," require timing and being prepared. You have to create the right environment to get the best shots. Here you will see how to prepare the site so that you can capture the moment and make it meaningful.

Chapter 9, "Action Shots," takes you in a different direction in that this, many times is all about lens speed and timing. It is about freezing the action with techniques like using fast shutter with flash, and about blurring action by using slow shutter with a tripod. Chapter 10, "Enhancing and Sharing your Photos," examines how to manage your images by using various software products, how to enhance and repair your images, and finally how to share your images via slide shows, email, websites, and printing.

Aimed at the beginner user, Photo Workshop: Portrait and Candid Photography is very easy reading, and develops through a well defined, logical progression covering most aspects of shooting portraits on a casual basis. Not being aimed at the professional, it does not try to tackle too much like lighting layouts and other more complex discussions.

While I wish that it went a little further in explanations of the relationship of ISO, shutter speeds, and aperture, it does a very good job of presenting the fundamentals. Additional things I like about Portrait and Candid Photography and the series in general is that most of the photos have an "about this photo" caption where, when appropriate, the technical information is presented about the image.

The other thing is the lessons and exercises that give you an opportunity to interact with the book. Portrait and Candid Photography provides a great overview of portrait photography and the subject in general. If you are a beginner or getting back into it and want a good refresher course, then Portrait and Candid Photography will fit the bill.


Technorati Tags: ,,

Thursday, July 24, 2008

Software Review: Strata Foto 3D 1.5

Written by T. Michael Testi

Strata Foto 3D 1.5 is the part of the Strata 3D product line that lets users load a series of masked pictures into the Foto 3D interface and generate a real-time 3D object. This object can then be exported VRML, to 3DS, to a layer in Photoshop CS3 Extended, or used in one of Strata's other 3D products. The goal of Foto 3D is to allow a 3D model to be created quickly and inexpensively while requiring few technical skills and no expensive hardware.

To use Foto 3D correctly the primary things that you need are a camera that takes JPG or TIFF images, a printer that is capable of printing out the special calibration mats that you need - a decent laserjet or inkjet printer should do fine - a tripod, a solid background that is different from what you are going to model, and an evenly lit space.

Foto 3DThe first thing that you will want to do is calibrate your camera lens. Most cameras have some distortion that is not really noticeable when looking at a single image, but when you are trying to isolate, mask, and match up a series of images at different angles, it becomes more important. To calibrate the lens, you print a grid of dots onto a plain white sheet of paper. Secure the paper on a piece of card stock and take several pictures of it with the lens you will be using; more details are in the manual. You then load the images for Foto 3D to adjust.

Next thing to do is to print out a calibration mat — a specially designed printed pattern of dots that needs to be placed under the object when it is photographed. It needs to be appropriate to the size of your object and this mat allows Foto 3D to determine the exact positioning of the camera relative to the object. This can be a single page or multiple pages in size.

Now that you have everything in place, you set up your tripod-mounted camera; you might get away with not having a tripod if you have someone moving the model, but I would personally not want to try it this way. You will need to take at least 15 images from an angle that is low enough to take frontal shots, yet high enough to capture the calibration mat. You then take another four or so from higher up, and one from a top angle. If you want to take more images that is better; these are really just guidelines for the minimum to get a quality image. On my image, I moved one set of dots Foto 3Dto the left for each of the first group of shots, then four or five from higher up, and finally the top shots.

Next you load the images to the computer with Foto 3D and create a new project and load the images. At this point you will know if you calibrated your lens properly because your images will be properly masked or not. If it is properly masked, your object will be the only thing that is not transparent. If not you will see the masking occur in the wrong places and things will look screwy. At that point you will have the choice to start over, or handle the masking by hand. Once masked, you can fine tune the images.

From here you generate your wireframe which essentially puts together all of the images into a wire mold of your object. While you get options here for adjustment, keep in mind that there are trade-offs and while it may seem cool to add a lot of polygons, some where down the line it may become more costly in terms of memory and size relative to the benefits received.

Next you will optimize your surface which will make your object look like a soap carving; just a lump that sort of has the shape of your object. Finally, you texturize the model and that is what makes it look like your live object.

So what features does Strata Foto 3D bring?

• Automated Masking – With the proper backdrop and calibration of your lens, Foto 3D identifies your background and does the masking automatically. It takes the guesswork and tedium out of hand masking.

• Surface Optimization – uses the profile of your shape in each photo and generates a surface mesh. The more photos the more accurate your surface mesh. These make for smoother corners and edges.

• Auto Texture Creation – uses the same photos to Foto 3Dgenerate a photorealistic UV map for your object and uses that to automatically create a photo-realistic texture on your object.

• Interactive Mesh Decimation – lets you determine the number of polygons to use to create your object. You may want more if you are using the model in a 3D rendering package such as Strata 3D CX you may want higher quality and thus more polygons. If you want smaller size for downloading on the web, then you can opt for fewer polygons.

So what is new in Strata Foto 3D 1.5?

• Create 3D models from images in Photoshop CS3 Extended – by using the included script to combine your product shots into one document for easy masking. You can send the all of the images to Foto 3D, create the model and texture and the return it back to Photoshop.

• Export real-time 3D models directly to Photoshop – and finish the job there. The Foto 3D also work seamlessly with the Strata other Photoshop CS3 workflow tools such as Live 3D and Strata 3D.

Foto 3DStrata Foto 3D is available from Strata at $495 USD for the download version and $99 USD for the upgrade from 1.0. There is a Photoshop plug-in version called Strata Foto 3D[in] available as well for $149 USD and the differences can be found on this matrix.

What did I think of Strata Foto 3D? It takes a little bit to get everything set up the first time, with calibration and all, and to get the workflow correct, but once that was done, it was really very easy to use and get good results.

Strata Foto 3D will be of great benefit to anyone who needs to put fully textured, photo realistic objects into illustrations, video, games or any number of virtual environments. The fact that outside of the product, a camera, and a tripod, the ability to generate a 3D model with this much ease makes it a must have application that I can highly recommend.

Tuesday, May 15, 2007

Amazing Photography: When Coffee Meets Milk

You really have to see these creative shots, they truly are remarkable!

T.


read more digg story